Linux App
| Light | Dark |
|---|---|
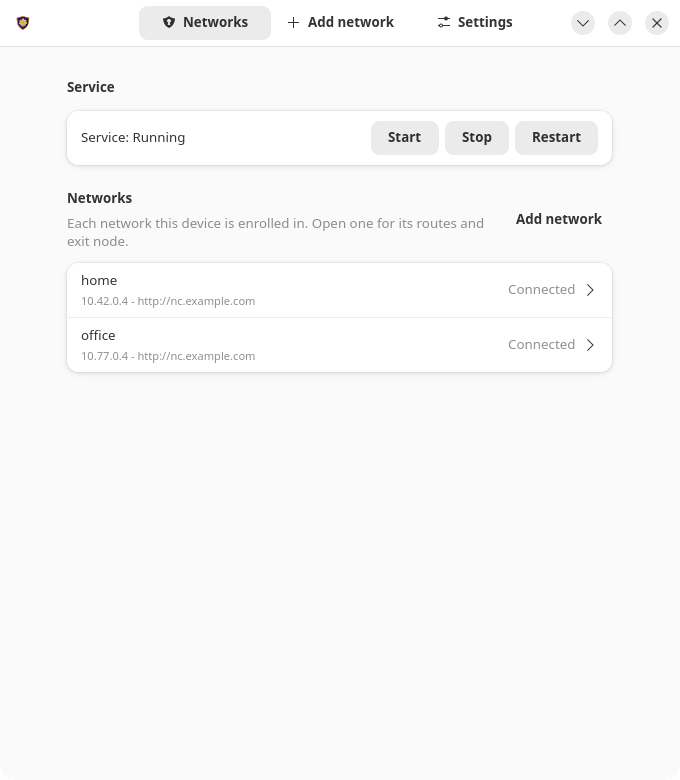 | 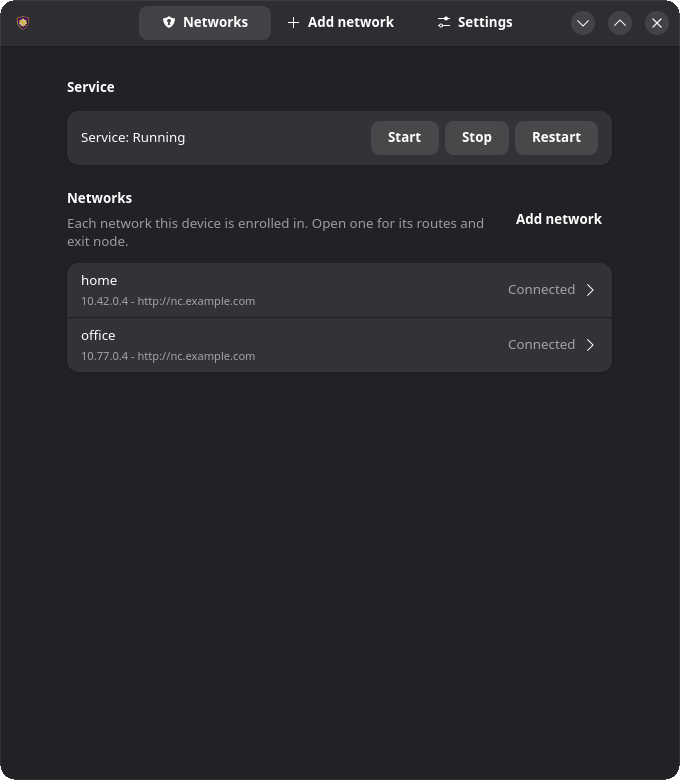 |
On Linux, Nebula Commander (GTK4/libadwaita) is an unelevated desktop app for the background ncclient systemd service. The service does the actual work (polling for config and certs, running Nebula) as root, and exposes a system D-Bus API (org.beardedtek.NebulaCommander1) that the app talks to, authorized per call via polkit.
Anyone can view; administrators change. Any user logged in at the machine can see status and offered routes. Enrolling, changing settings, accepting routes or exit nodes, and starting/stopping the service work without a password for members of the sudo (Debian/Ubuntu) or wheel (Fedora/openSUSE/Arch) group. Anyone else needs an administrator’s password, so other users of a shared machine can’t re-point or stop the tunnel. Remote (SSH) sessions get nothing through the app’s API; use sudo on the command line instead.
The app and service are installed together via .deb, .rpm, or Flatpak. The app isn’t designed to run without the service; if the service isn’t installed or running, the Status tab says so. On a server you can install just nebula-commander-service and manage it from the shell (see Headless use).
Where state lives
The service keeps everything under /var/lib/ncclient/ (root-only): settings.json, one token per network in tokens/, and each network’s generated Nebula config and status in networks/<id>/. Installs from before v0.8.0 are moved into this layout on the service’s first start. The app never reads these files directly, only through the D-Bus API (View Config shows the node’s private key as <redacted>). The service uses the distribution’s packaged nebula binary.
Enroll
- Open Nebula Commander from your application launcher.
- Go to the Add network tab and enter the server URL and the one-time code from Nebula Commander (Nodes → open the node → Enroll).
The service picks up the token right away; it waits for enrollment instead of exiting when it has none.
To join another network, use Add network again with that network’s code. One device can be in several networks, on different servers if needed. See Several networks on one device.
Using the app
The app has three tabs in its header bar and follows the desktop’s light/dark preference.
Networks: the systemd service state with Start/Stop/Restart buttons, then one row per network this device is enrolled in, with its state and this node’s IP. Click a network to open it:
- Connection: connection state (e.g. Connected – Config updated) and This node’s IP (click to copy).
- Subnet routes offered to this node: a switch for each. Routes that overlap one you’ve already accepted are shown disabled with the reason.
- Exit node: a picker for offered exit nodes, and Allow local network access (off: local-network traffic goes through the exit node too).
- Advanced: View Config to see the generated
config.yaml. - Leave network removes the network from this device.
You also get a desktop notification when a network’s connection state changes or a new route is offered.
Add network: enroll in a network with a server URL and code.
Settings: poll interval, Accept split-horizon DNS (both apply to every network), Run on startup (an XDG autostart entry for the app itself), and Updates. Saving restarts the service automatically so the new values take effect.
| Light | Dark | |
|---|---|---|
| A network | 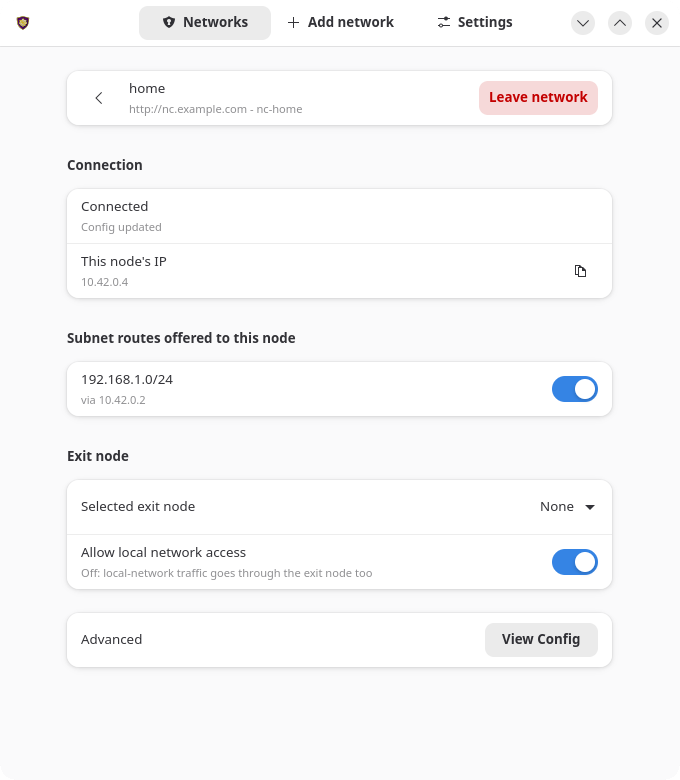 | 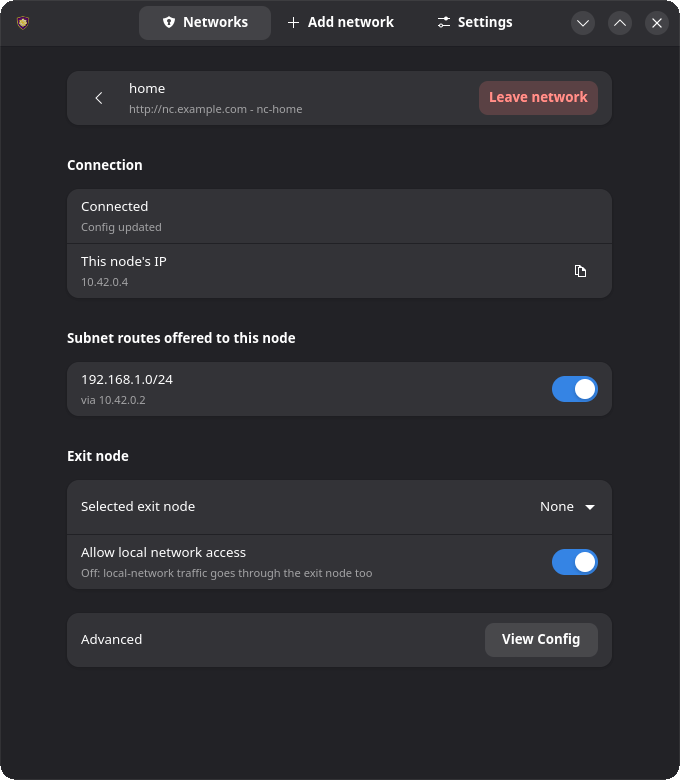 |
| Add network | 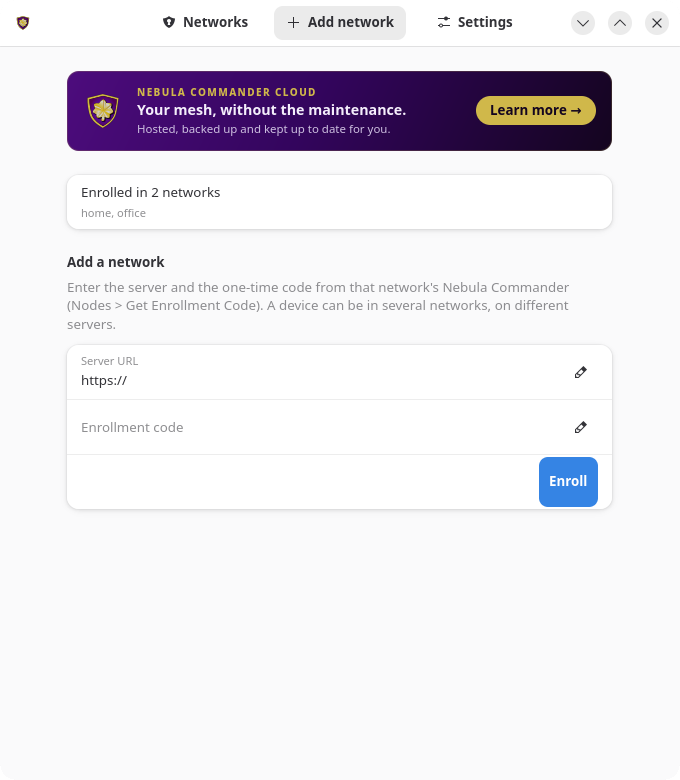 | 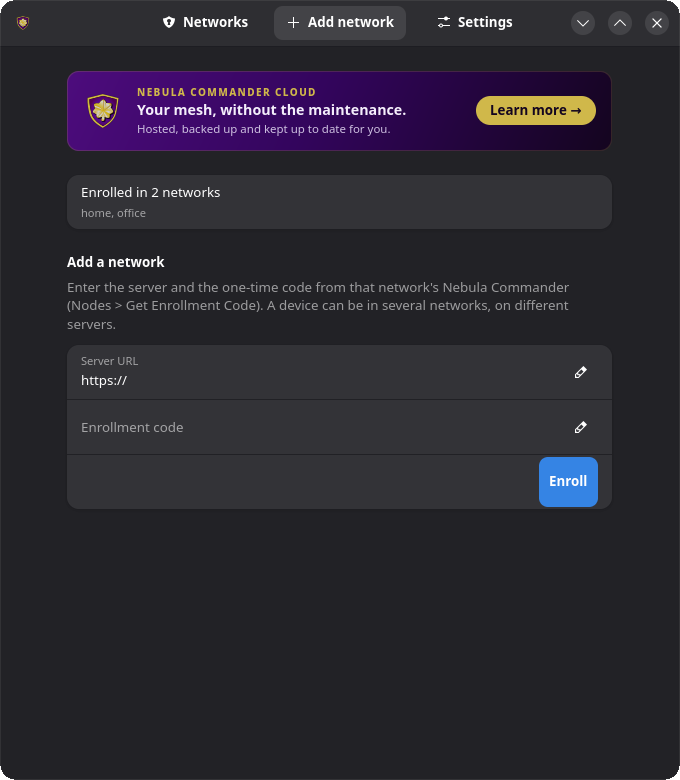 |
| Settings | 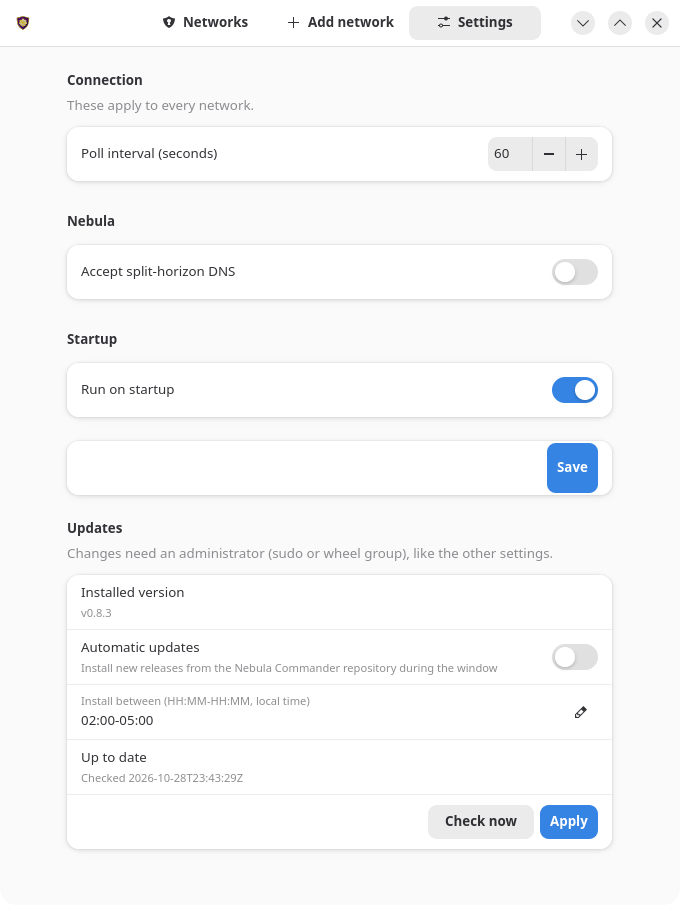 | 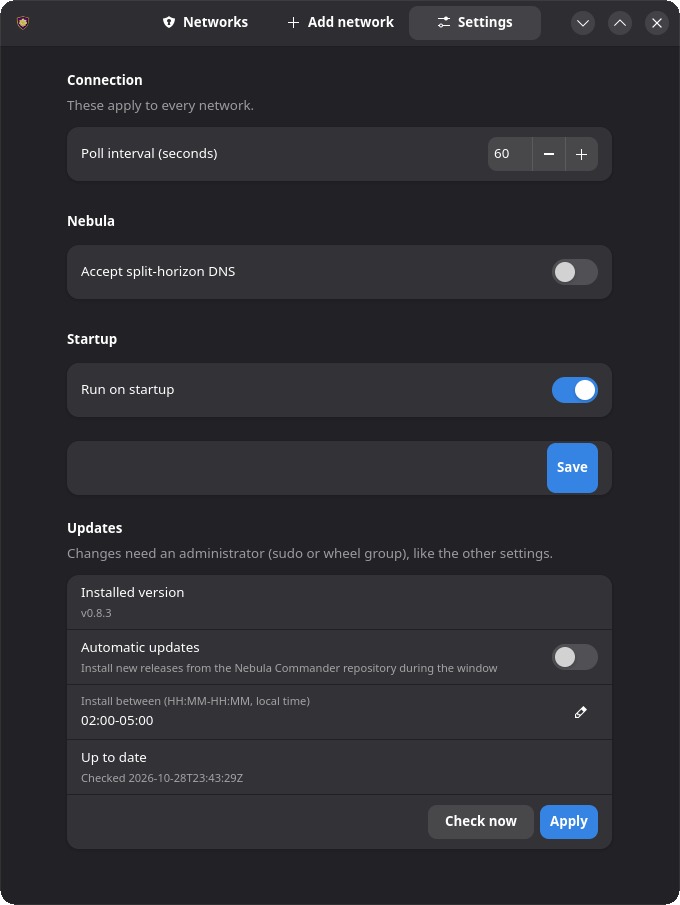 |
Subnet routes and exit nodes
Open the network on the Networks tab and use its route switches and Exit node picker. Changes apply on the service’s next poll. A device has one exit node across all its networks: picking one in a network replaces one in use in another. See Subnet routers and exit nodes for how routes are offered.
Split-horizon DNS
Turn on Accept split-horizon DNS in Settings and save. The service restarts with --accept-dns and configures the host’s resolver to match how it manages DNS (systemd-resolved, NetworkManager, dnsmasq, or /etc/resolv.conf). See Split-horizon DNS on the CLI page for details.
Re-enroll
Open the Add network tab and enroll again with a new code for the same node on the same server. This replaces that network’s token, and the service switches to it on its next poll.
If you’re moving the device to a different server, enrolling adds the new server’s network next to the old one. Open the old network on the Networks tab and click Leave network.
Headless use (service only)
With only nebula-commander-service installed, manage the service from the shell:
sudo systemctl status ncclient
sudo systemctl restart ncclient
journalctl -u ncclient -f
Run as root, ncclient enroll and ncclient routes automatically use the service’s state in /var/lib/ncclient when the service package is installed.
Enroll or re-enroll:
sudo ncclient enroll --server https://YOUR_NEBULA_COMMANDER_URL --code XXXXXXXX
sudo systemctl enable --now ncclient
Run enroll again with another network’s code to add that network. On re-enroll (a new code for the same node) the service picks up the new token on its next poll.
List or leave networks:
sudo ncclient networks list
sudo ncclient networks remove NAME    # name or id from the list
Subnet routes and exit nodes:
sudo ncclient routes list
sudo ncclient routes accept 192.168.1.0/24
With several networks, name one before the subcommand: sudo ncclient routes --network NAME list.
reject, accept-exit-node --via <IP>, and reject-exit-node work the same way (see the CLI page).
Split-horizon DNS: the service adds --accept-dns when /var/lib/ncclient/settings.json contains "accept_dns": true. Edit it as root, then sudo systemctl restart ncclient.
Updates
With the package repository configured, the client can upgrade itself during a daily window: Settings → Updates in the app, or sudo ncclient auto-update enable. Check now looks for a new release; when one is out, Install now installs it right away (with a progress bar), and Restart App reopens the app on the new version. See Automatic updates.
Troubleshooting
- The Networks tab says the service isn’t installed or is unreachable: install
nebula-commander-serviceand start it withsudo systemctl enable --now ncclient. The Flatpak app can’t do this for you. Revoked, deleted, or re-enrolled elsewhere - Nebula stopped. Enroll again to reconnect.in the journal: the device was revoked, deleted, or re-enrolled elsewhere; Nebula was stopped and its config and key removed. Re-enroll it with a new code.- “Administrator required” in the app: your account isn’t in the
sudoorwheelgroup. Ask an administrator to add you (sudo usermod -aG sudo USERon Debian/Ubuntu,wheelelsewhere, then log out and back in), or have them make the change. - Enrolled with
sudo ncclient enrollbut the service still waits for enrollment (versions before 0.6.9): the token went to root’s home directory instead of/var/lib/ncclient. Upgrade, or prefix the command withNEBULA_COMMANDER_CONFIG_DIR=/var/lib/ncclient NEBULA_DEVICE_TOKEN_FILE=/var/lib/ncclient/token.
Run from source
From the nebula-commander repo root, with PyGObject, GTK 4, libadwaita, and jeepney installed (on Debian/Ubuntu: python3-gi gir1.2-gtk-4.0 gir1.2-adw-1 python3-jeepney):
python3 -m client.linux.desktop
It still needs a running ncclient.service that exposes the D-Bus API (from nebula-commander-service or the NixOS module). Without one, the Networks tab shows the service as not installed.
Build
See Linux Desktop App installation and Development: Manual builds for building the .deb/.rpm/Flatpak packages yourself.